Closed terrariums have been around since the 1800’s when botanist Nathaniel Bagshaw Ward, a London-based surgeon and botanist accidentally discovered them. Dr Bagshaw Ward was raising moth pupa in a sealed glass jar when he noticed that moss and ferns were thriving in the environment he had created for the moths.
Here are some helpful tips to help you create your own eco system – it’s easier than you think!

What you will need
You’ll need the following to build a closed terrarium:
Glass vase with lid
Terrarium layers – pebbles, activated charcoal, sphagnum moss, soil
Plants – Fittonia, Spider plant, Calathea, Hypoestes
Terrarium tools (optional) – long tweezers, wooden stick
Decorative pieces (optional) – pebbles, slate, moss, mini figures, wooden pieces
Mister (optional) – a gentle mister to occasionally mist your terrarium
Choose your closed vase
Any vase with an air tight lid can be used – jam jar, terrarium with cork lid, even a Kilner preserve jar. If this is your first attempt at building a terrarium and you’d like less of a challenge, make sure to choose a vase with a wide opening because it will make it easier for you to navigate and access to add your necessary layers and plants.
Choose your plants
There are many beautiful plants that you can add to your closed terrarium. Here are a few of my favourites:
Fittonia / Nerve Plant
Ferns (Maidenhair Fern, Boston Fern)
Hypoestes
Spider plants
Pilea
Calathea
Moss (Sheet moss – great for ground cover, Cushion moss – great for textures)
Peperomia
Pilea

Gather your layers
The following layers are necessary to help your terrarium thrive:
Pebbles – A bottom layer of pebbles is necessary because it helps with drainage. Your closed terrarium doesn’t have holes in the bottom for excess water to escape from but the he pebbles act as a drainage layer. You can use pretty much any pebbles or stones, even slate. However, if you gather pebbles from the garden, make sure it’s clean and free from live bugs that may like to munch on your plants.
Sphagnum Moss – A thin layer of moss helps with the humidity that your terrarium needs to thrive. Gently spread the moss out onto your pebbles to create a thin layer. Sphagnum moss can be purchased online from major retailers however, if you’d like to purchase the right amount for your terrarium, please get in touch here as we sell moss individually.
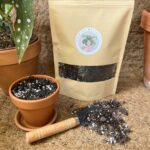
Activated Charcoal – Also known as activated carbon, it’s a material made by roasting charcoal at high temperatures. A layer of activated charcoal is added to remove any unwanted algae or impurities that may form in your closed terrarium. Activated charcoal can be purchased in bags at any aquatic store but if you’d like to purchase the right amount for what you need, please get in touch here as we sell charcoal individually.
Soil – A healthy, peat free soil helps your terrarium thrive. If you can, mix your peat free soil with bark (for humidity and drainage), perlite (for drainage), coco coir (for soil aeration) and worm castings (for a natural fertiliser). If you’d rather buy a ready made soil with all of these properties already mixed in, you can shop here.
How to build your terrarium
1. Start by placing each layer in the above order into your terrarium – pebbles, moss, charcoal, soil.
2. Compact the soil tightly before adding your plants.
3. Remove the plants from the plastic pots and remove most of the soil around the roots.
4. Create holes with a wooden stick or with your finger to position your plants in.
5. Place the plants into the holes and press down the soil firmly to secure the plants in the soil.
6. If you’re using decorative pieces such as pebbles, moss or wooden sticks, place these around your plants as decoration.
7. Mist your terrarium with about 5 mists.
8. Place the lid onto your vase and place your terrarium in a bright spot, out of direct sunshine.
How to care for your terrarium
Place your terrarium in a bright room, out of direct sunlight.
Generally, you don’t need to continually mist your terrarium as the live moss, soil and plants will generate the required humidity to help your terrarium thrive. If you see condensation on the vase, you’ll know that your terrarium is doing what it needs to do.
The water droplets on the vase will become heavy and fall back into the soil. This will create a continuous watering cycle, a little mini eco system – clever!
If your plants outgrow your terrarium, simply trim the plants accordingly.
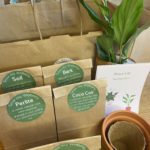
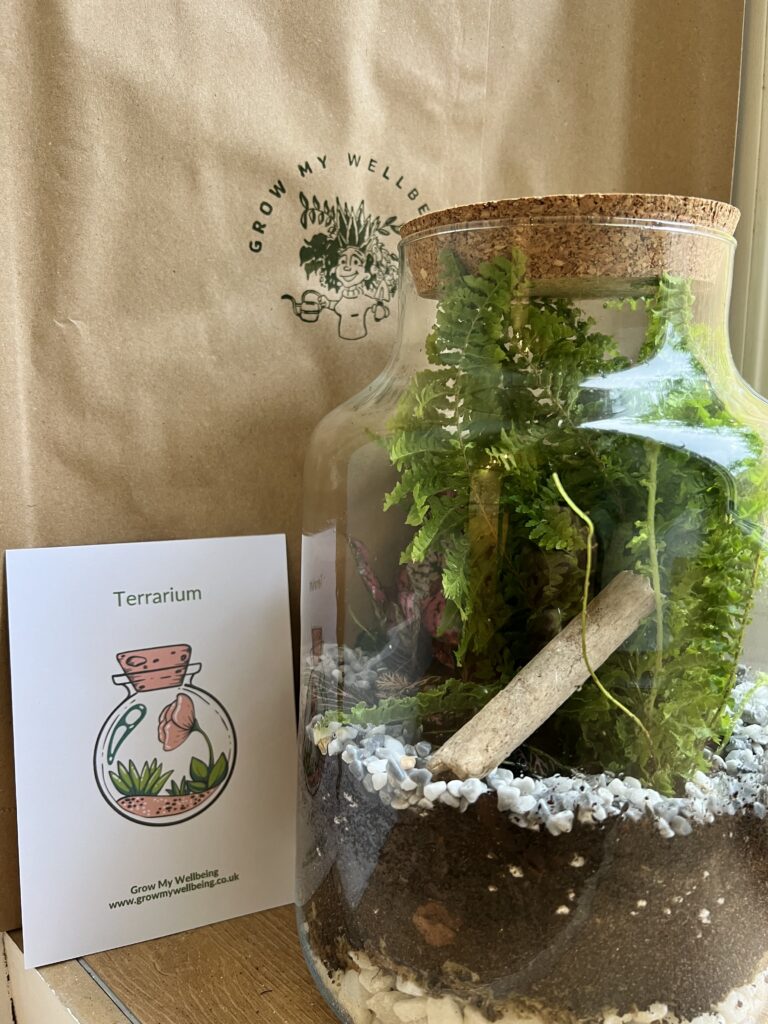
Looking for a DIY terrarium kit?
If you’d like a DIY terrarium kit with all elements included, you can browse our DIY kits here. All kits come with vase, plants, soil elements, terrarium tools, care cared, planting card and decorative pieces – the perfect gift to yourself, a colleague or a loved one.
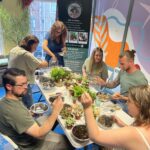
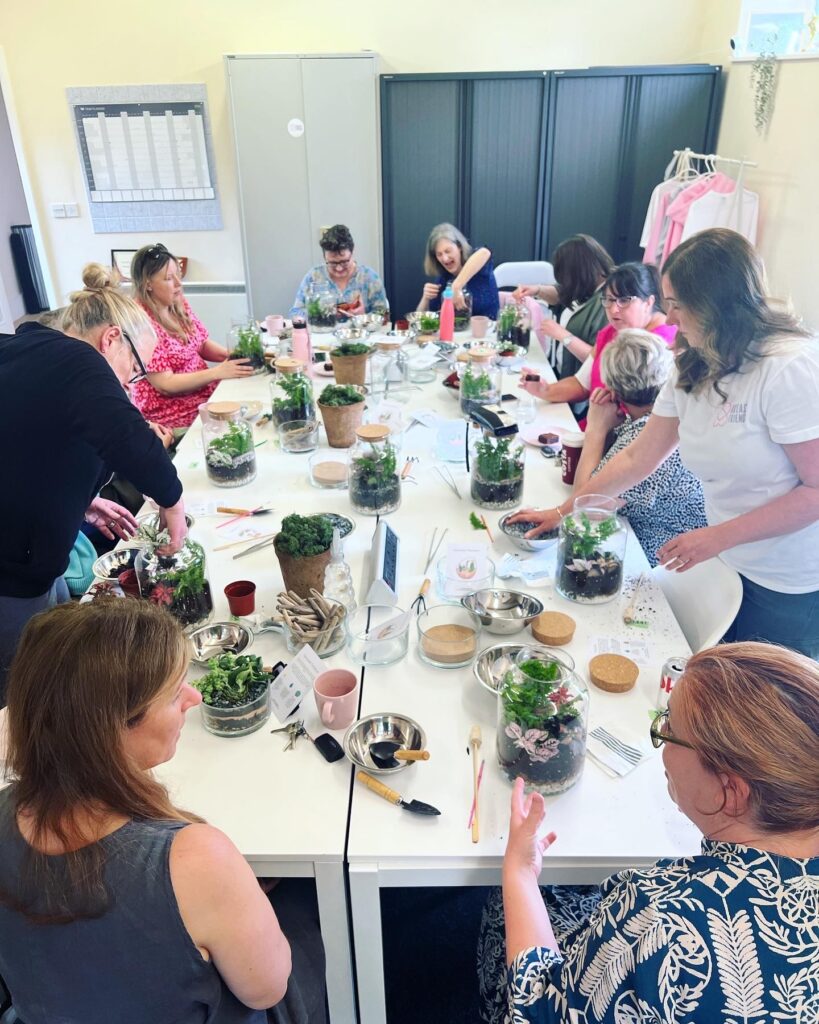
If you’re in or near Bury St Edmunds and would like to join one of our terrarium workshops in a local coffee shop, as a team building event or a private get together, please get in touch here.
Happy terrarium building
Thank you for reading! We hope you found this article helpful. Please get in touch with any questions and let us know how you get on with building your own terrarium.
For more tips, please follow along on Instagram , Facebook and YouTube.
Chantal – Grow My Wellbeing